Bas Relief on the Cheap
By David E. Parvin, A.L.I. - Sculpture Journal December 2000
Unless you are so well established that you are immune to a downturn, you have to be aware of and affected by the current softness in the art market. I suspect that the only beneficiaries are collectors; it has to be a buyers’ market. Those of us who create, manufacture, or sell art are carrying on the best we can in lean times. We sculptors have an especially difficult path to follow because of the high “development” cost in bringing a new piece to market. Consider the painter who only has to purchase a canvas, some paint, and a frame and in some relatively short amount of time has something that might be turned into cold hard cash. We sculptors also have to purchase raw materials, but our creations often take far more hours to shape and we are still a long way and many dollars short of a return on investment. After all, it can be several months from, “I’m done,” until the other people have finished molding and casting and we can expect to enrich some collector’s life and the collector ours. So, I got to thinking about adding to my portfolio without having to take out a loan or sell a relative for medical research.
I decided to make a bas relief mostly because there was an idea I had been itching to tackle and this gave me an excuse to get to it. Besides, someone once told me that people have more wall space than table tops. While this would not be my first bas relief, it would be my first with a frame. A trip to my closest framer gave me new respect for painters. Frames are not cheap and I would need at least thirty of them. It seemed to me that if I ordered one just the right size, I could make a mold of it and cast as many as I need. So that I what I did.
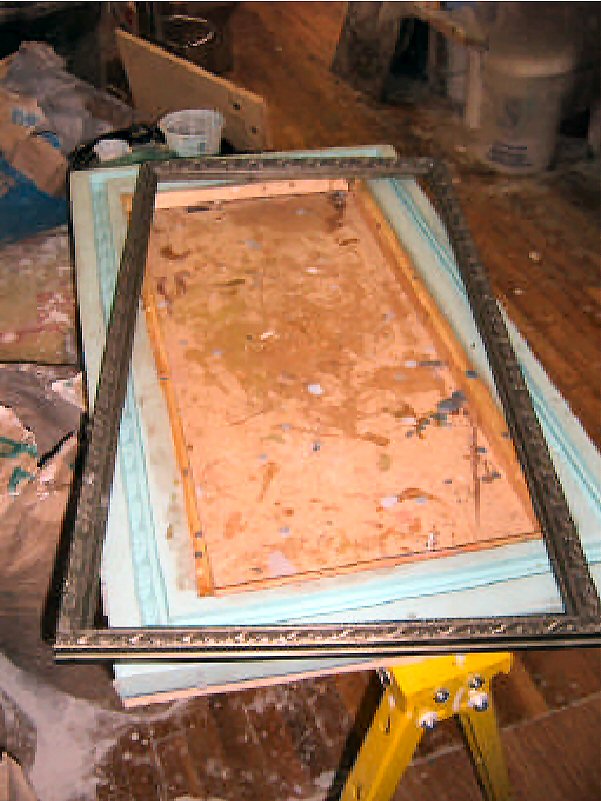
Photo #1 shows the custom-made frame and the mold I made of it. The mold was a simple block mold made by placing the frame on its back, constructing a wall about an inch outside and another wall about an inch inside of it and filling the space inside, outside, and over the front of the frame. After letting it cure overnight, I turned over the rubber, removed the frame, and I had my mold. By keeping the inside wall, I could fit the mold around it and maintain its rectangular shape without making a mother mold.
In Photo #2, I am dusting the inside of the mold with metal powder.
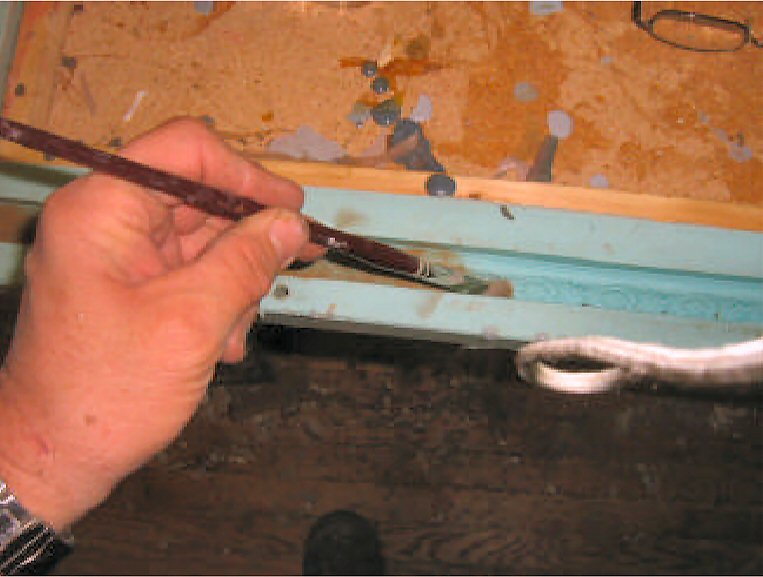
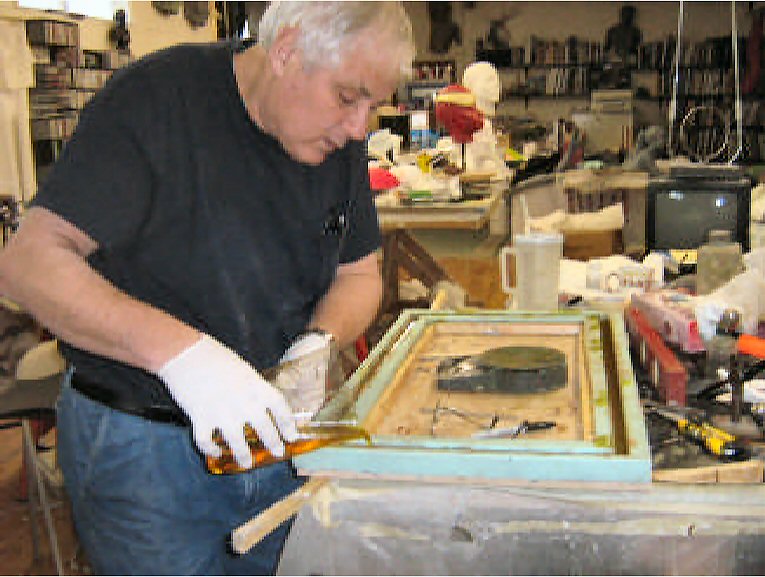
Photo #3 shows me pouring in polyurethane resin. The resin attaches itself to the metal powder and the result is a very credible fake metal frame. While any urethane will probably work, my favorite with metal powders is AquaClear by ArtMolds. Because it doesn’t change color to white or gray as most urethanes do, a very small amount of metal powder is needed.
I initially tried copper, brass, and bronze powders. While all three looked just fine, I preferred the brass. Add some dyes and the variations are endless. I also tried polyester resin but found that it didn’t attach itself to the metal powders as well. An acceptable finish can be achieved by painting, however. While less expensive, the polyester takes longer to set up, has a much stronger odor which seems to stick around forever.
As I was playing frame maker, I was sculpting the bas relief which is the bare backside of a female figure sort of like a nude Irish dancer floating in space.
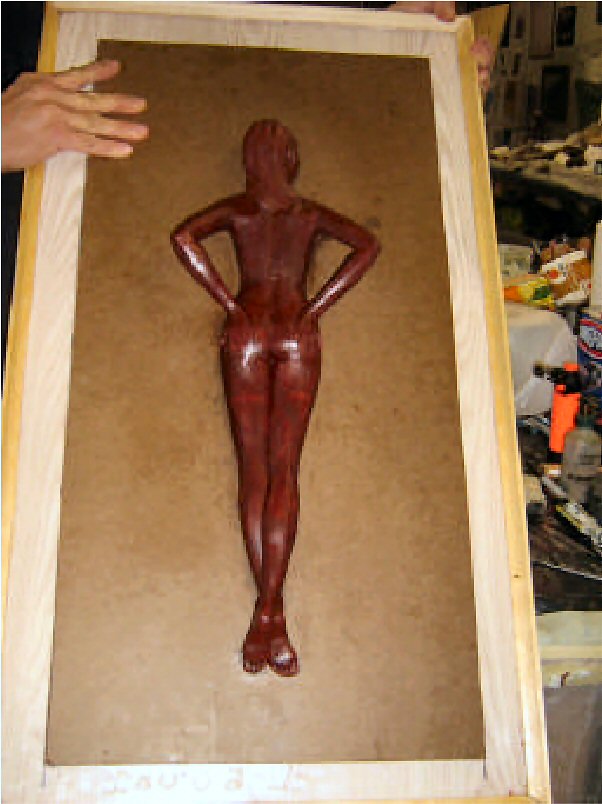
Photo #4 shows the completed wax sculpture attached to a piece of Masonite. (I always sculpt smaller figures in wax because I feel I can get better detail than I can in clay.)
In Photo #5, I have covered the figure and the piece of Masonite in the same kind tin cured silicone rubber that I used for the frame’s mold. The “nipples” are rubber extensions that will hold the mother mold securely in place. (These were explained in an article I wrote in Sculpture Journal in 2007 titled, “Another Little Trick for Some Molds.”)
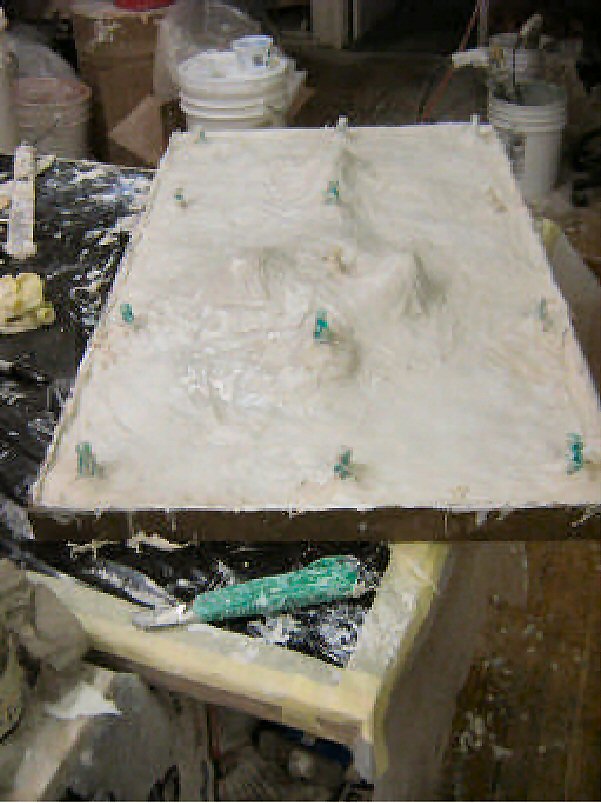
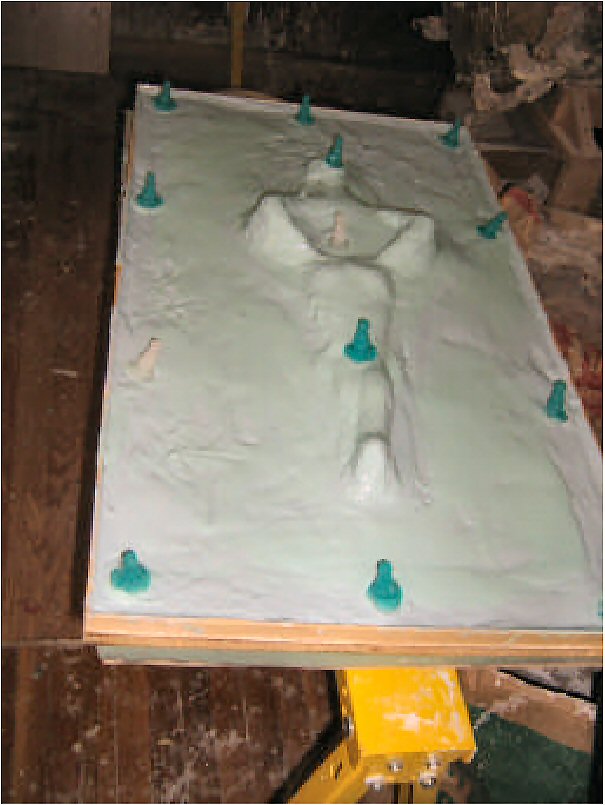
Photo #6 shows the mother mold made of Forton MG held in place by said nipples.
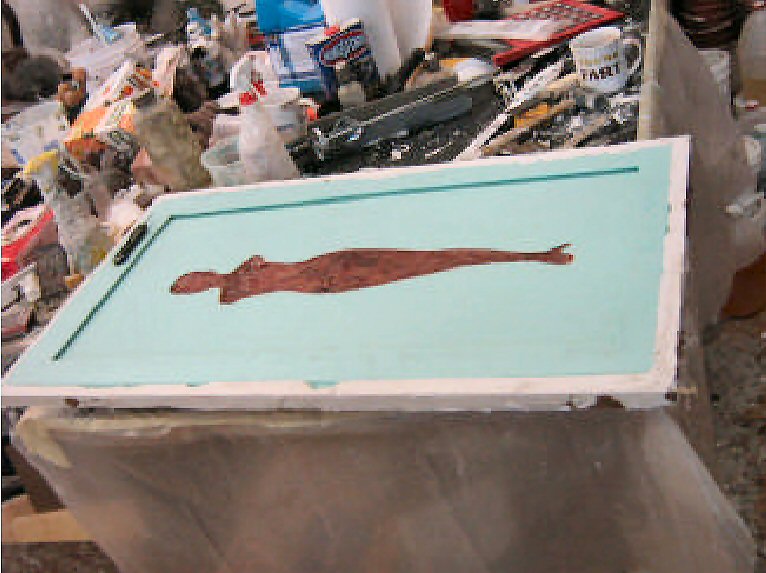
Photo #7, after letting the rubber cure overnight, I removed the Masonite leaving the wax figure in the rubber.
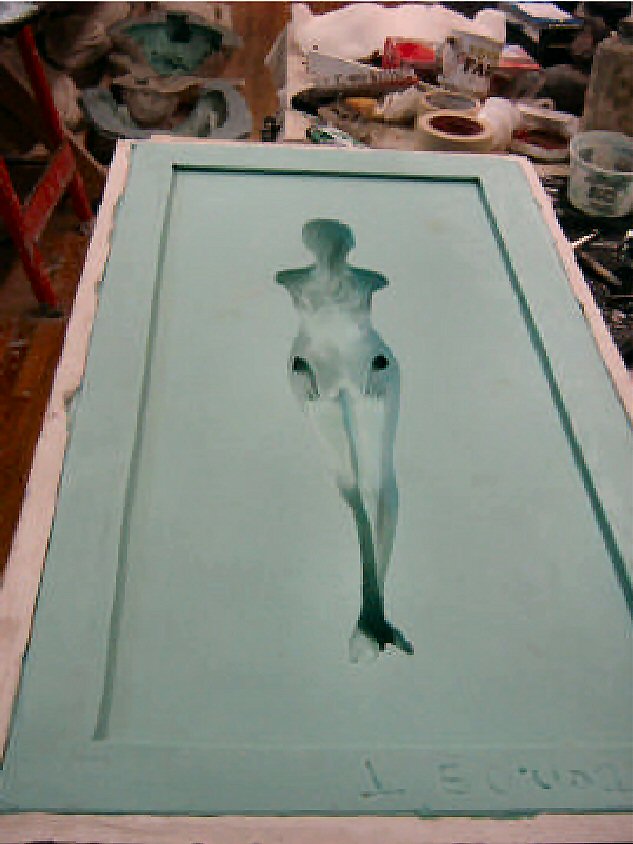
The completed mold sans wax figure is shown in Photo #8. If you are wondering how I got the arms of the mold, I had to cut the mold from the shoulders along the inside of the arms to the wrists.
The last photo shows the finished bas relief inside a fake metal frame. The relief itself was cast in a polyurethane which is specially designed for roto casting. The roto casting properties allow for one to rock the mold as if panning for gold and produce in several layers a bubble free casting front surface, a uniform thickness, and a professional looking smooth back. I realize that my explanation here is a little abbreviated. But the purpose of this article was to get myself and perhaps some others to thinking about how to keep going in lean times. After all, what I have done is make a new piece completely in my own studio for just my labor and the cost of about ten pounds each of silicone rubber and polyurethane resin. Since I finished her today and wrote this tonight, it’s too early to see whether I have art fame or art shame. But to quote a Scottish folk song, “At least I tried!”
_____
The late Dave Parvin was a Denver, Colorado based sculptor, author, life casting artist and teacher who frequently wrote for John White's Sculpting Journal